I have a confession to make. Prior to having our first child, I was never a fan of the concept of meal prepping. Since cooking is a hobby for me, I would spend about an hour making dinner most nights. However, once reality set in and I had to make lunch & dinner with one arm (and Thomas in the other) and evenings consisted of bathtime, playtime, and feedings, I was forced to seriously consider the idea of meal-prepping. I am writing this blog post to share my personal practical tips and strategies to help moms, dads, and anyone who wants to eat healthy (and is also on a time budget).
There are 2 basic approaches to meal prepping: (1) make a full meal and portion it out into several meal-sized portions or (2) prepare many components of a meal and store them separately to quickly add them to recipes while cooking. I generally prefer the latter since it enables me to still change things up each night and prepare a meal from scratch in less than half of the time (but classic full-meal leftovers are hard to beat on busy weeknights!) The approach you take depends on whether you enjoy the predictability and stability of eating the same meals every day or you prefer to cook it up fresh & different each day – I work with people who fall into each category.
Whichever approach you take, here are 7 helpful strategies to use!
- Weekend Cooking – I dedicate one span of time during the weekend to do most of my prep work. It usually takes 1-2 hours on Sunday afternoon to get this accomplished if I start with a plan & make good use of my time! I often will add a shorter meal prep session mid-week to get us through until the weekend.
- Know How Long They Last – Prep the fresh foods that spoil quickest first. For example, cucumbers, mushrooms, zucchini, lettuce, and eggplant should be eaten within 3 days, whereas produce that will keep well until the end of the week include beets, cauliflower, peppers, cabbage, and potatoes. (But you can still prep the longer-lasting produce early!) Read: Storing Fresh Produce
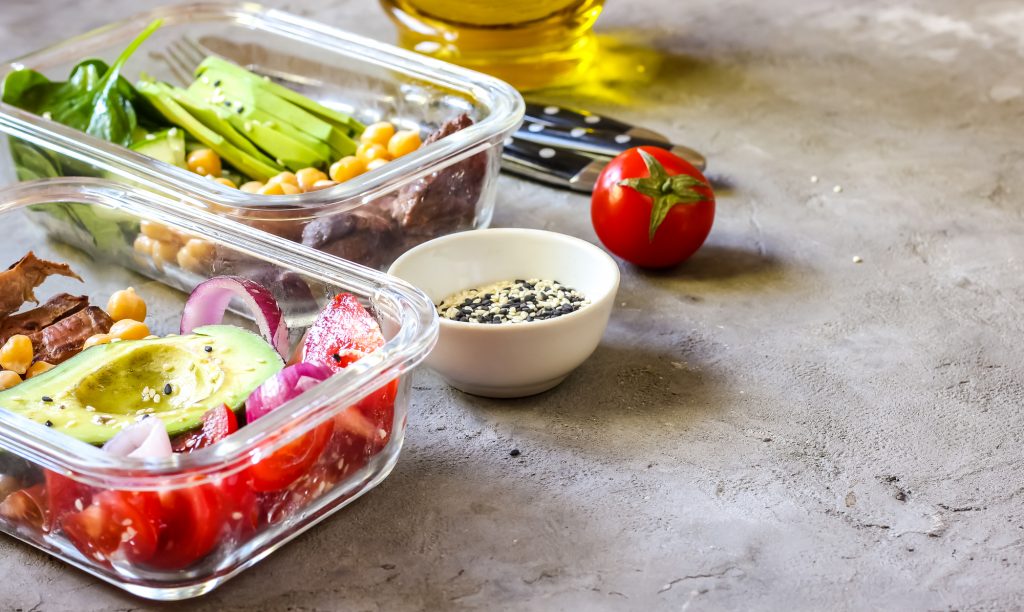
- Use clear containers, preferably glass – visibility and accessibility is a must for successful meal prep! When prepared foods sit in plastic for extended periods of time, there is always the risk of chemicals leeching into the food. Be proactive and opt for non-toxic, stack-able, sturdy glass containers. (I love using Pyrex dishes for this purpose!)
- Organize your refrigerator so you can scan and find all items quickly. For example, I keep all baby food on the upper right shelf, all prepped veggies on the middle shelf, grains in large circular containers, beans on the left middle shelf, etc., so I always know what my options are when I survey the refrigerator.
- Chop ’em up: Within 1-2 days of grocery shopping, I cut up a few fruits & veggies so they are within easy reach. One of the only kitchen tasks I haven’t managed to do one-handed is use a knife (and I don’t plan to acquire this skill). If veggies are pre-chopped, I’m much more likely to grab and toss them into the skillet or onto the salad!
- Pick a grain and keep it plain – while I’m chopping veggies during my meal prep session, I choose one grain to simmer on the stove. I let it cool and have it ready to add to meals for the next 3 days. For breakfast, I add some rice to eggs & veggies, for lunch I sprinkle quinoa on my salad, and for dinner, I warm any grain on the skillet and season it with olive oil, salt & spices. It doesn’t get much quicker than that!
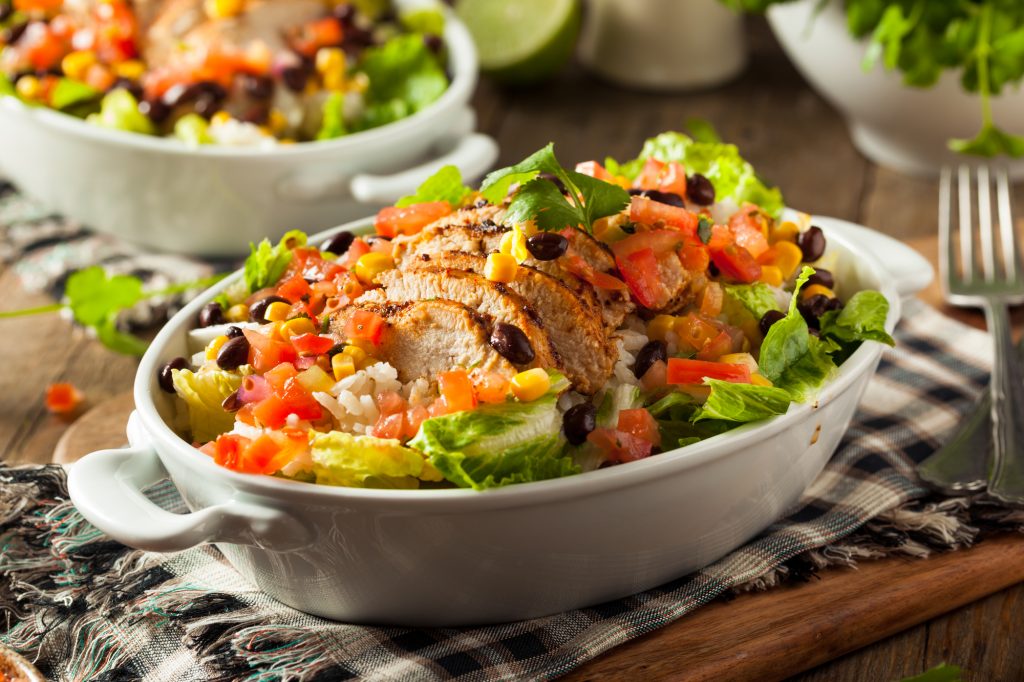
- Decide on a “theme” for the week – I love to fill the refrigerator with “matching” ingredients so we can toss together quick meals without much planning. For example, on Sunday I’ll prep black beans, tomatoes, scallions, cilantro, rice, corn, red onion, and salsa. This can make a delicious taco night for dinner, zesty eggs for breakfast, and a hearty Mexican salad the following day for lunch! The following week I’ll gather supplies that will be the base for some warm chickpea curry, lentil dal, and maybe even a hearty turkey chili, all served over aromatic basmati rice. Are you hungry yet?!

